
 We left off having extensively justified my acquisition of a new bicycle (or frame, at least), excavating deep ruminations while I waited on the various delivery services to arrive with assorted brackets and bearings and pieces of things. All of which arrived last week, but to my dismay, I was unable to begin building up my bike for the lack of tools.
Anyone who has seen my workshop would find it seemingly remarkable that I don't already possess every tool necessary for the construction of anything short of a 30-foot Friendship sloop (truth be told, I do have half of a mast and a junkyard boom stuffed in the joists, but that's a story for a different time). Between what I inherited from my father and what I've added of my own initiative, I find myself relatively well stocked. However, in this case, I was caught shorthanded.

Installation of the modern cartridge bearing bottom bracket (the axle assembly that the cranks and pedals connect to) requires a manufacturer-specific tool. In the case of the Saga's bottom bracket, the manufacturer specified a Shimano BB tool, to which I thought "fine," because all of my bikes are equipped with Shimano bottom brackets.
What I didn't take into account was that all of my bikes are equipped with Shimano external bearing bottom brackets, and what I was installing into the Saga was an internal bearing bottom bracket. Not the same animal at all, which I realized as I reached into my tool drawer and pulled out precisely the wrong tool.
The second setback occurred as I looked at my shiny, chrome headset. I had originally intended to install the headset with a DIY headset press, for which there are a dozen plans on the web. But as I looked, I thought about it's shiny scratchlessness and the pristine beauty of my frame. There was no way I could risk the amount of money involved with a shade-tree-mechanic panic tool.
So I gave in, dialed up a tool supplier on the web, and gave some more business to Mr. UPS.
The headset press and bottom bracket tools arrived yesterday, so I took the morning off and began the build.
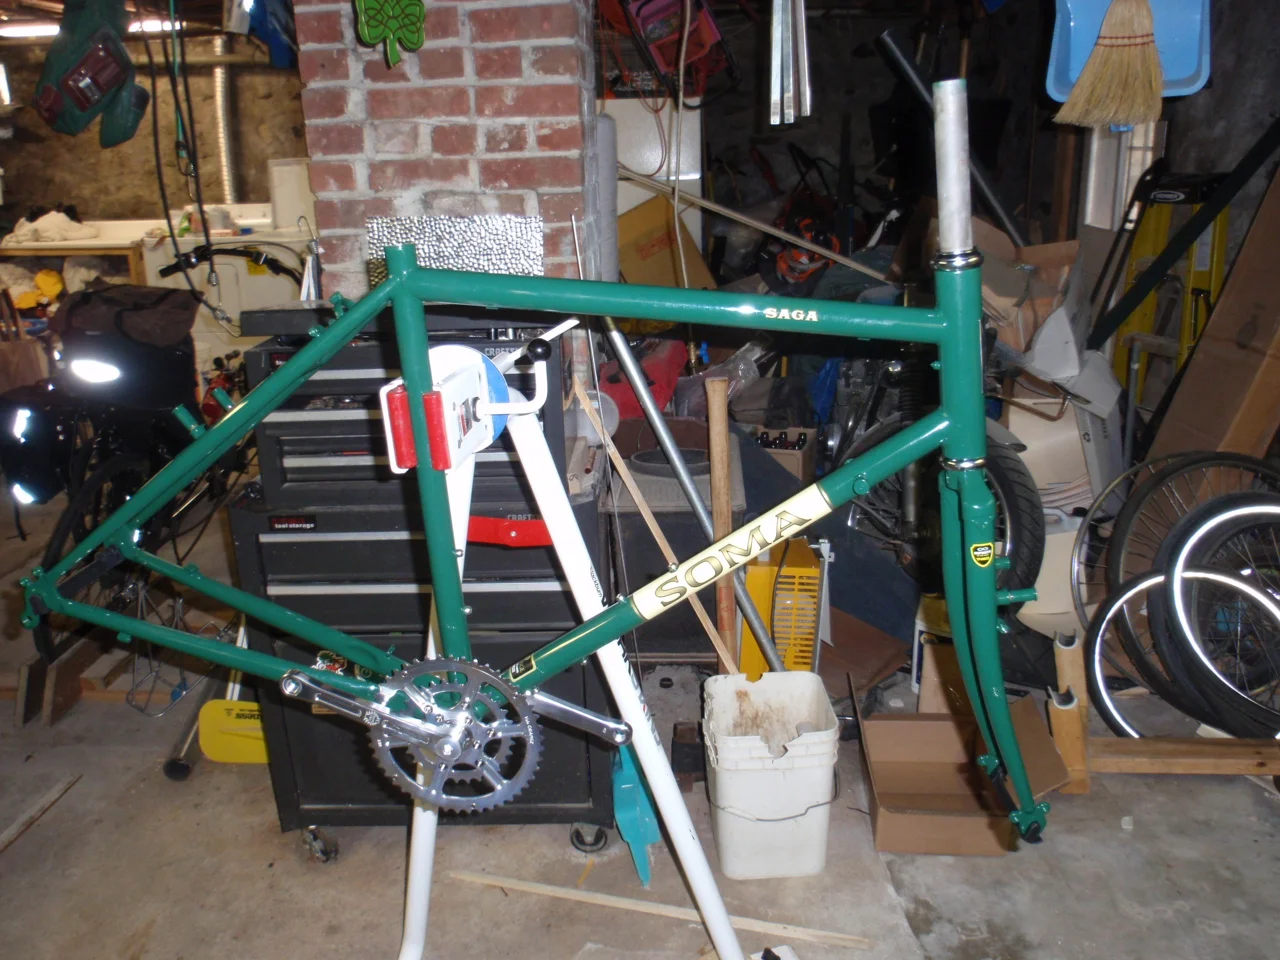
The bottom bracket installed without a hitch, and I dialed up the torque wrench to apply 30 Nm of force to the cranks to hold them in. It occurred to me as I was doing so that this was perhaps the first time in a lifetime of home bike maintenance that I had ever used a torque wrench to tack on some cranks. I have always done it by feel and intuition. It says something that I haven't ruined a bottom bracket spindle in 40 years, but then again, this is a special build. I'm not taking any chances.

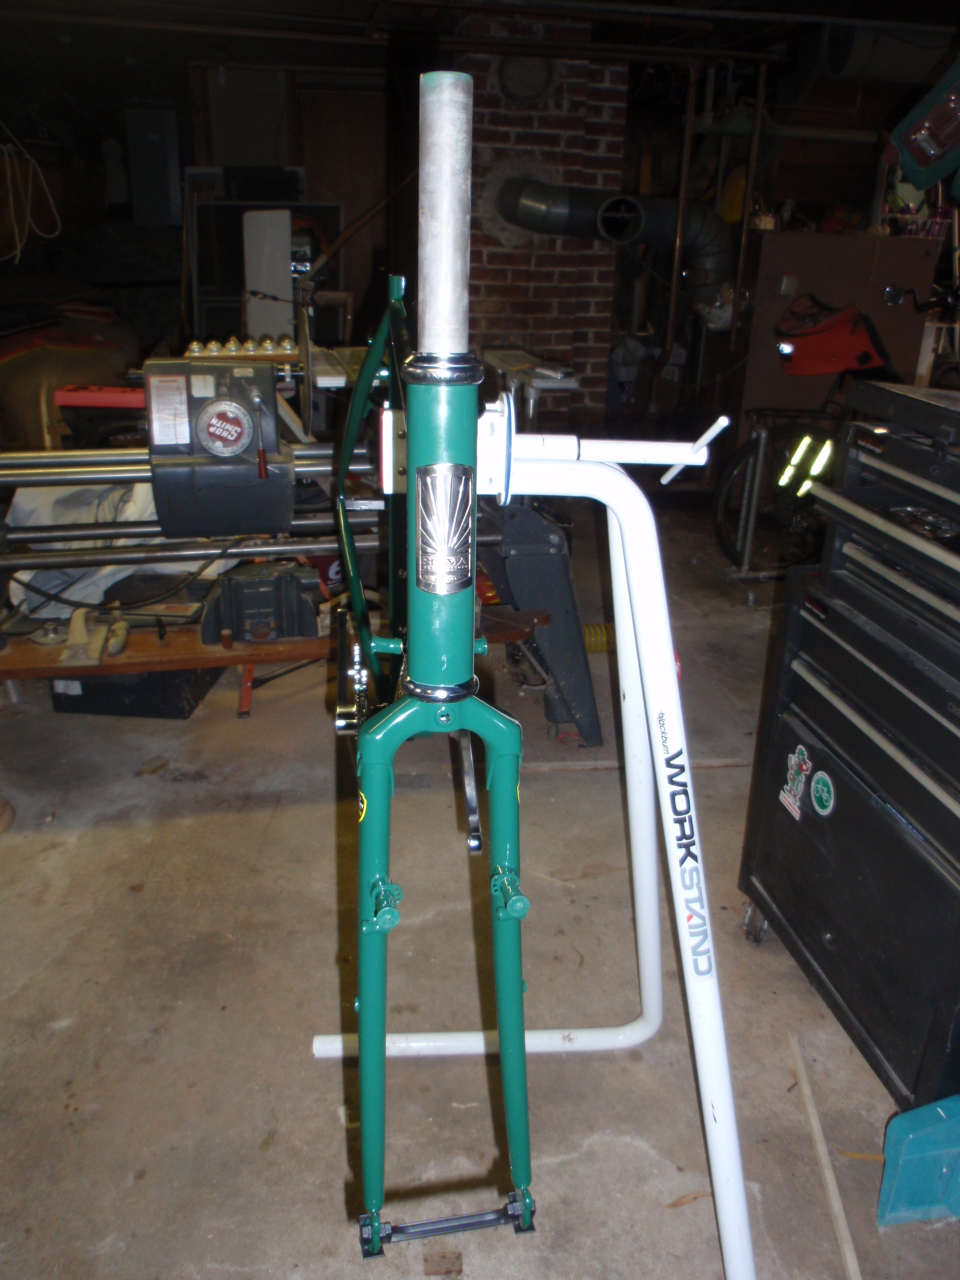
Pressing on the bearing cups for the headset was a pleasure with the correct tool. This was my first time installing a pressed headset; all of my previous bikes had used threaded headsets, which no matter how you finesse it, seem to require a good tightening at least once a year, and during maintenance, you were sure to lose a ball bearing or three.
But with a few twists of the tool, the bearing cups slid in like butter on toast. My new headset was installed in 5 minutes, and the fork went on in another 2 minutes. Testing it, the headset has smoothest action I've ever had on a bike. Sweet.
Stepping back, it's now starting to look like a real bike, not just a nice paint job on some welded pipes.
Next up: Making the wheels. Hubs, spokes and rims are all sitting in the basement. This evening it will be time to have a nice porter and begin lacing up the rims. It's like zen meditation but with less dharma and more grease.